
How to Paint Exterior Render on 1930s Preston Homes: A Complete DIY Guide

1. The Story Behind Preston’s 1930s Semi-Detached Homes
How post-war housing transformed Fulwood, Ashton, Lea, and Ribbleton
The 1930s semi-detached homes found throughout Preston’s suburbs represent one of the biggest housing booms in the city’s history. During this period, approximately 3,000 new council houses were built in the Penwortham and Fulwood areas, plus another 1,500 private homes. This created the neighborhoods we know today in popular areas like Fulwood, Ashton-on-Ribble, and Lea.
These homes were built after World War I as part of a national effort to create “homes fit for heroes.” The goal was to give families proper space, security, and dignity after the hardships of war. The houses featured sturdy red bricks, elegant timber-framed porches, and were designed to feel spacious and bright.
The exterior render on these Preston homes reflects the popular ‘Tudorbethan’ style of the time. This was part of the Arts and Crafts movement, which moved away from basic pebble-dash to more attractive brick and decorative timber features. The render serves two important purposes: it looks good and protects your home from Lancashire’s tough weather conditions.
Today, these areas remain some of Preston’s most sought-after neighborhoods. Semi-detached properties now average £196,501 in value. The percentage of families with children in these areas has actually increased in recent years, showing they’re still popular with growing families. This makes proper render maintenance essential for preserving both your home’s character and its value in Preston’s competitive property market.
2. Essential Tools and Materials for Rendering Paint Jobs
What you’ll need for a professional finish on your Preston suburban home
Painting the exterior render of your 1930s Preston home is a big job. It requires the right tools and materials to get results that will last through Lancashire’s challenging weather.
If you’re planning a DIY approach, you’ll need several key items. Start with quality brushes – get a 4-inch brush for main areas and smaller angled brushes for detail work around windows. You’ll also need rollers with medium-nap sleeves that work well on textured surfaces. Don’t forget extension poles to reach higher areas safely.
For surface preparation gather scrapers, wire brushes, and sandpaper. You’ll need exterior masonry paint designed specifically for rendered surfaces, plus primer for any bare render spots. Most 1930s semi-detached homes need 15-20 liters of paint for full coverage. Also get protective gear including safety glasses, dust masks, and plastic sheeting to protect your plants and pathways.
However, exterior render painting is a major task that takes significant time, skill, and physical effort. The work involves working at height and dealing with unpredictable weather windows. You also need to achieve consistent coverage across large textured surfaces, which can be tricky.
If you want an easy solution with guaranteed high-quality results, it’s best to hire experienced professionals. Rose Decor are expert painters and decorators in Preston with extensive experience painting 1930s exterior render. We work on homes throughout Fulwood, Ashton, Lea, and surrounding areas. We handle everything from surface preparation to the final finish, ensuring your home gets professional results while saving you time and effort.
3. Preparing Your 1930s Render Surface for Painting
Step-by-step cleaning, repairs, and priming for Lancashire weather conditions
Proper surface preparation is the most important step in painting your 1930s Preston home’s exterior render. Without good prep work, even the best paint will fail quickly in Lancashire’s wet and windy conditions. This stage takes the most time but makes all the difference to your final results.
Start by giving your render a thorough clean. Use a stiff brush and mild detergent to remove dirt, algae, and loose material. For stubborn stains or mold growth, you might need a diluted bleach solution. Rinse everything thoroughly with clean water and allow at least 24 hours drying time. Preston’s climate means you need to pick your weather windows carefully for this work.
Next, inspect for any damage that needs fixing. Fill small cracks with exterior filler, making sure it’s designed for rendered surfaces. Larger cracks or blown areas of render need more extensive repair work. Sand down any rough or uneven areas once repairs are dry. This creates a smooth base for your paint to grip properly.
The final preparation step is priming. Any bare render or repaired areas must be primed with a quality exterior primer. For this crucial step, many professionals in Preston recommend Zinsser Bulls Eye 1-2-3, which offers excellent adhesion without sanding and is ideal for interior and exterior painting projects. This water-based all-purpose primer bonds to wood, plaster, concrete, gloss enamels, hardboard, galvanised steel, glass and tile, making it perfect for 1930s render work. Apply primer in thin, even coats and let it dry completely before moving to the next stage.
Remember that rushing the preparation stage will show in your finished results. Take time to do this step properly, especially around window frames and corners where problems often start. Good preparation now means your paint job will look better and last longer in Preston’s challenging weather conditions.
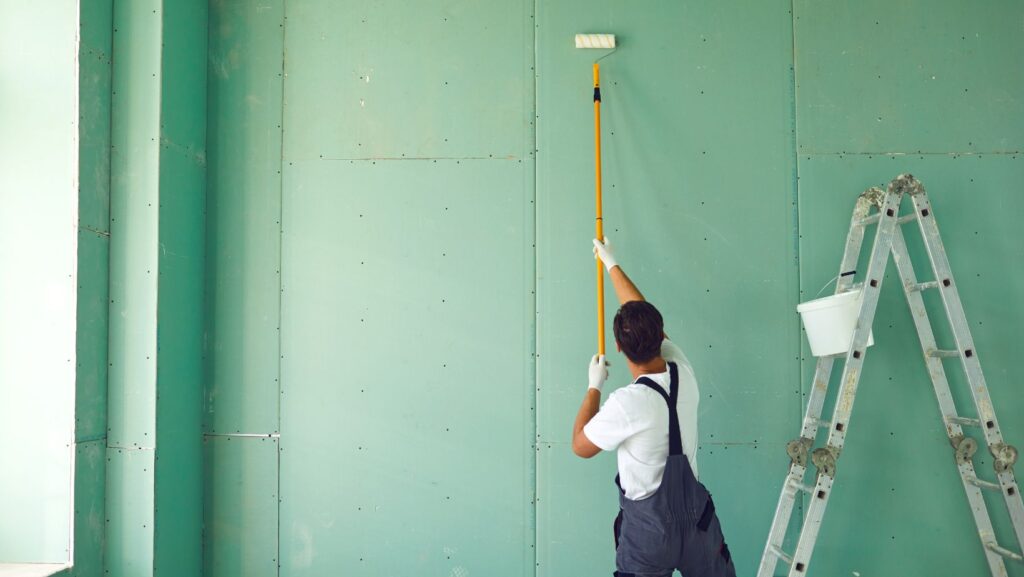
4. The Painting Process: Techniques for Smooth, Textured Render
Professional application methods for achieving an even, long-lasting finish
Now comes the painting of your 1930s Preston home’s exterior render. The key to success is using the right technique for your specific render type and working systematically across the surface. Most 1930s homes have either smooth or lightly textured render, each requiring slightly different approaches.
Start painting from the top of your house and work downward. This prevents drips from landing on freshly painted areas below. Begin each section while the previous area is still slightly wet to avoid visible lap marks. For smooth render, use a medium-nap roller for the main areas and a quality brush for cutting in around windows, doors, and trim work.
With textured render, you’ll need to work the paint into all the grooves and bumps. Use a longer-nap roller or stippling technique with your brush to ensure complete coverage. Don’t try to stretch the paint too far – it’s better to use more paint and get proper coverage than to have thin spots that will fail early.
Apply your first coat evenly but don’t worry about perfect coverage. The second coat will provide the final color depth and protection. Allow the first coat to dry completely according to the manufacturer’s instructions before applying the second. In Preston’s climate, this usually means waiting at least 4-6 hours on a dry day.
Pay special attention to areas that get the most weather exposure, particularly south and west-facing walls. These areas may need slightly thicker application or even a third coat for maximum protection. For quality exterior masonry paint that can withstand Preston’s challenging climate, many professionals recommend Dulux Trade Weathershield, which is specifically formulated for professional use and includes anti-fade technology plus improved resistance to mold and algae growth.
Work in manageable sections rather than trying to paint the entire house in one day.
The weather conditions during painting are crucial for success. Avoid painting in direct strong sunlight, during rain, or when temperatures are below 5°C. The ideal conditions are overcast but dry days with little wind. If you notice the paint drying too quickly in hot weather, work in smaller sections and consider starting earlier in the morning or later in the evening.
5. Finishing Touches and Long-Term Maintenance
Protecting your investment and maintaining curb appeal in Preston’s competitive property market
Once your final coat is dry, step back and inspect your work carefully. Look for any missed spots, thin areas, or imperfections that need touching up. Pay particular attention to areas around window frames, door trim, and corners where coverage can sometimes be uneven. Address these issues while your paint and equipment are still accessible.
Clean up properly by washing your brushes and rollers immediately with warm soapy water if you used water-based paint. Store any leftover paint in a cool, dry place for future touch-ups. Keep a record of the paint brand, color, and date of application for your home maintenance files.
Regular maintenance will help your new paint job last longer in Preston’s challenging climate. Inspect your render annually for any cracks, stains, or areas where the paint might be wearing thin. Clean your exterior walls gently with a soft brush and mild detergent every couple of years to remove dirt and algae buildup.
A well-maintained exterior not only protects your 1930s home’s structure but also preserves its value in Preston’s competitive property market. With average semi-detached properties in areas like Fulwood, Ashton, and Lea commanding strong prices, keeping your render in excellent condition is a smart investment.
However, if this entire process seems overwhelming or you want guaranteed professional results, consider hiring experienced specialists. Rose Decor are expert painters and decorators in Preston with extensive experience working on 1930s exterior render throughout Fulwood, Ashton, Lea, and surrounding areas. We understand the unique challenges of Lancashire weather and the specific needs of period properties, ensuring your home gets the care and attention it deserves while you avoid the time, effort, and potential costly mistakes of DIY work.

")


