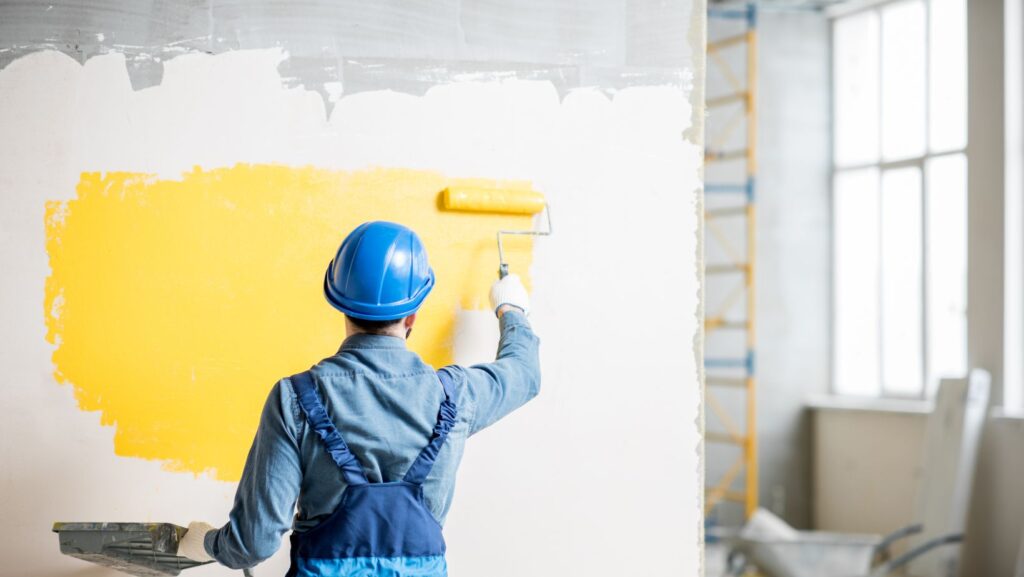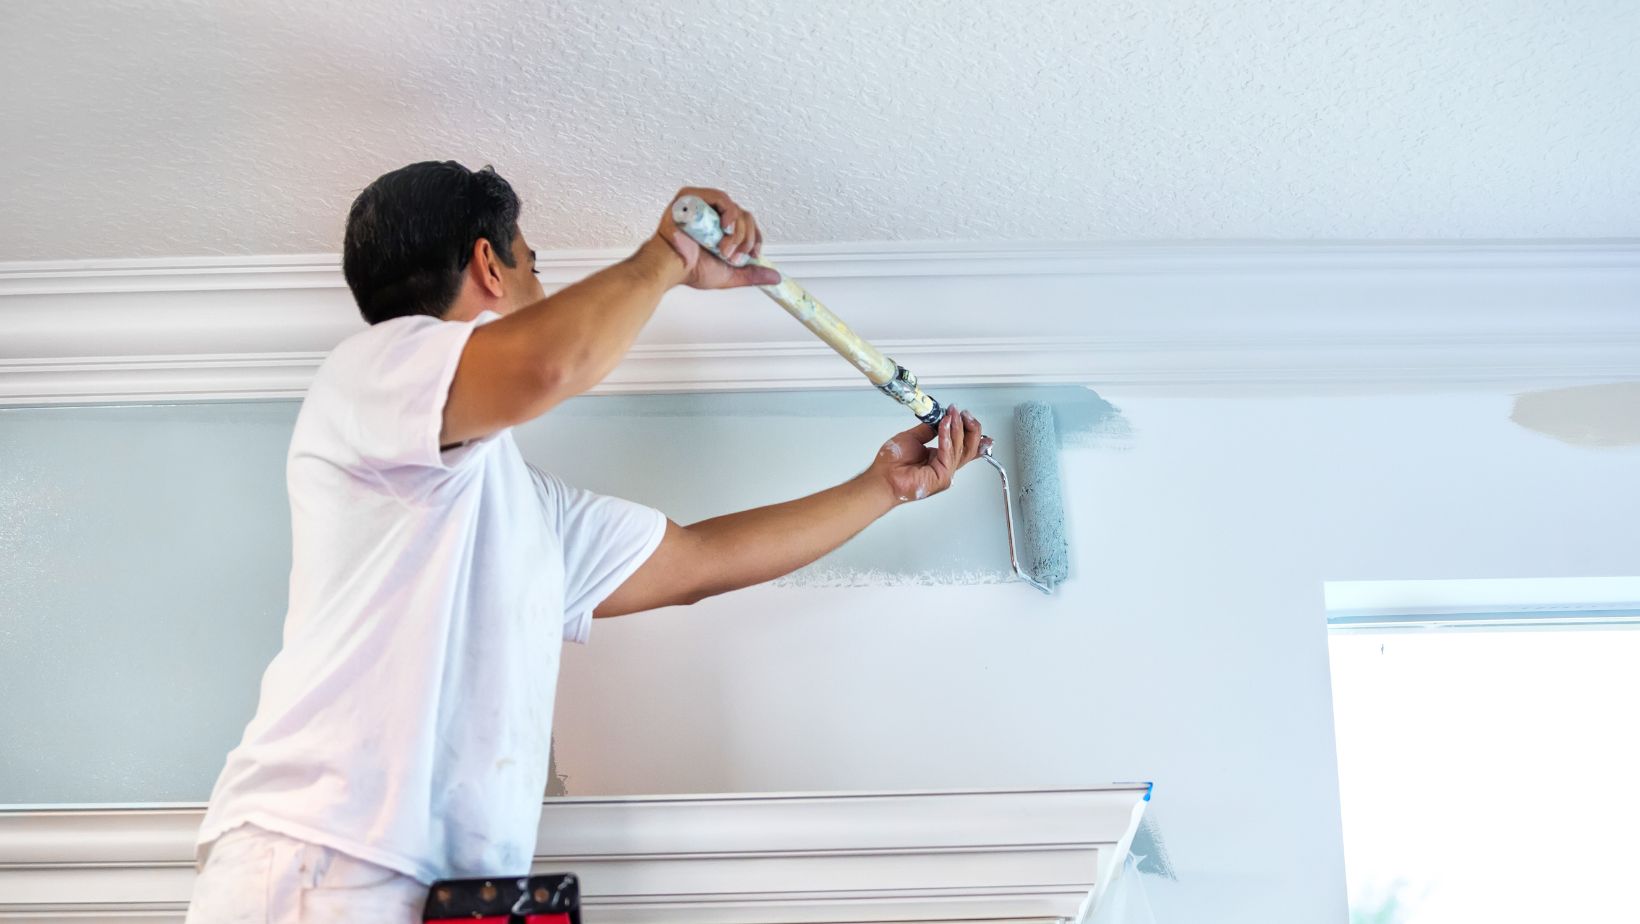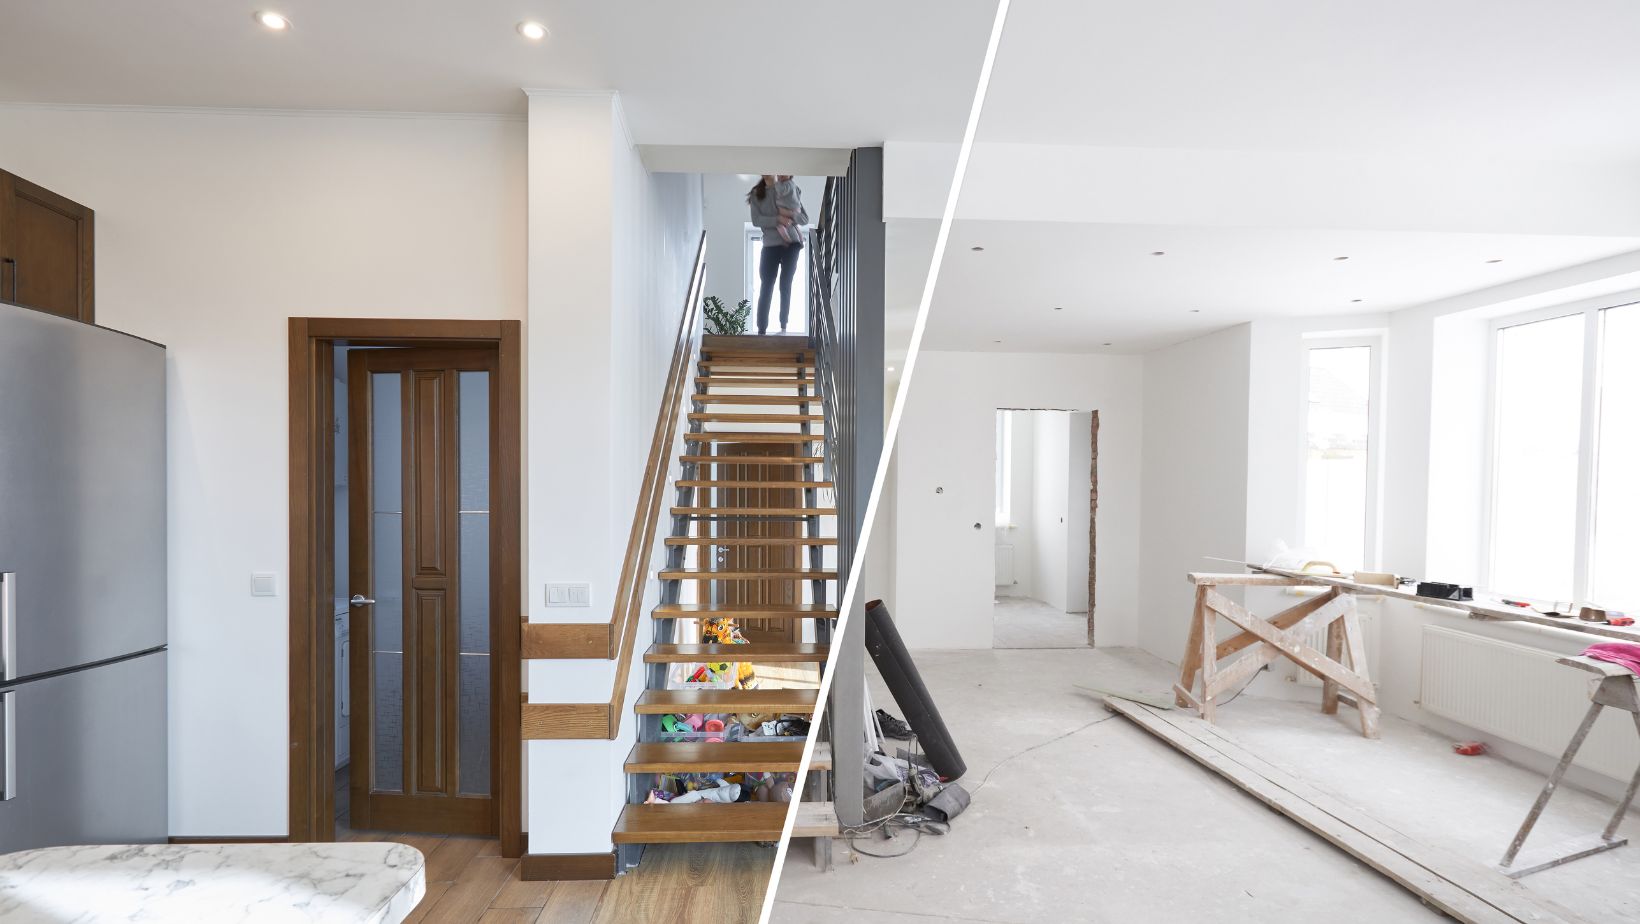
When moving into a new Vancouver home or redefining a dated interior space painting is often the first choice and an affordable one. It’s a project that can be done in a DIY capacity for most capable homeowners with practice, patience, and some guidance.
Preparing Your Interior Space for Painting
The ideal way to transform your Vancouver home aesthetic and increase your property value is with a fresh coat of paint. If this is your first time, due diligence in research will help you approach the project confidently and ensure a positive experience.
Fortunately, you can find tips and helpful hints online for everything from choosing paint colors to preparing the walls, even waiting for it to dry to see the end result. We’ll review some strategies to help get your residential painting project right the first time.
Paint Preparation
Preparing the house for the project is critical to success with interior painting, which is usually a neglected part of the process. Before grabbing a brush or roller, make sure you have a blank slate to work with. That means handling the following tasks.
• Remove all items from the walls and windows, such as switch plates and light covers, framed artwork and photos, drapes and window treatments, hardware, and so on.
• Remove accessories or small objects to make room to maneuver through the space.
• Examine the walls and trim for areas to be repaired.
Adequate cleaning means the product will adhere to the surfaces. This means mopping, dusting, and sweeping the walls and ceilings to eliminate cobwebs and dust. Vacuuming the floor will remove dust and particles that can attach to the paint. A microfiber cloth will remove debris from the baseboards and trim.
Greasy walls should be washed down to establish a rough surface. You’ll work from the baseboards up with a soap/water solution and then rinse with clear water.
Repair and patch screw/nail holes using a surface compound and putty knife. A drywall repair kit will offer a better result for more significant damage.
When the walls are ready for priming and painting, the room should be protected from what can be a messy job. Use drop cloths over the floors and painter’s tape on windows, ceilings, baseboards, and doors to keep paint contained to the areas you want to paint. Go here for everything you need to know about house painting.
Priming the Walls
Priming blocks grease and water ensuring the topcoat adheres extending the paint’s lifespan and creating a uniform finish. Specialized primers will be used based on the project’s specifics. Some homeowners prefer to use a paint product that combines primer and pain. This is wise in only a few conditions.
• The surface is not wood
• The walls are not stained or peeling
• The color is the same as what’s there currently or it’s darker
Selecting the Paint Suited for your Project
A vast range of brands are available on the market, some of which are of higher quality to give superior coverage in a single coat. A primary consideration will be the type of finish, whether satin, flat, or gloss.
This decision is often based on the room you’re painting. Visit https://www.moneysense.ca/spend/real-estate/renovations/how-to-save-money-on-home-renovations-even-if-youre-not-handy// for tips on saving money on home renovations.
• Matte/Flat
Older walls benefit from a matte finish since these often have many imperfections. It’s usually the top choice for ceilings as well.
• Matte enamel
A matte enamel finish is the same as flat only it’s durable. It’s ideal for a kitchen space where washing down greasy walls is routine.
• Satin
Satin almost appears reflective with a slight gloss, producing a soft sheen in a brightly lit room. Under normal conditions, it’s flat. The finish offers exceptional versatility and can be used in virtually any room of the home, including the bathroom and kitchen.
• Eggshell
Eggshell has a low sheen and incredible durability. The finish produces no glare from the walls. The paint can withstand scrubbing using a soft cloth without removing the product. It’s an ideal finish for living rooms, hallways, and bedrooms.
• Semi-gloss/gloss
Gloss finish is often used for baseboards and trim more so than walls since the paint readily reveals imperfections. If you prefer this finish for your wall, ensure you repair dents, bumps, or other issues.
Choosing Paint Colors for Your Home
Selecting a paint colorr for your home is the most challenging part of painting. Pulling a color from a focal point in the room instead of matching the room to your paint color is wise. Further, when choosing a color, paint a swatch to see how the colors will look at different times of the day and in various lights.

One thing to be mindful of is that lighter colored paint can make a small room appear larger while bold shades bring energy into a less appealing space. If you’re concerned about adding too much color, confine the deep hue to one accent wall and use a complementary lighter shade for the other walls.
The volume of color choices can be overwhelming, but here are a few suggestions for narrowing the selection.
Posterboard
Experts suggest using poster board to paint color choices and attach to walls in the rooms you’re painting to see how the shade looks in the sun, shadows, and varying artificial light conditions. This can reduce the fear of choosing a vibrant color or the wrong shade when you live with it for a few days or a week.
There’s no rush when deciding on a paint choice. This is the part that takes time and patience. You want to avoid painting an entire room only to dislike it and have to start from scratch.
It’s suggested that you design the room first, select a focal point like a piece of art or an area rug, and pull a color from this piece that strikes you for the wall color. You want to avoid painting the walls and trying to create an aesthetic around the shade. Click for tips on a successful home interior design.
The Mood and Personality
The walls are the prominent feature of a room. They create the mood and personality based on the color chosen for the space. Suppose this is an area where you want to relax and unwind; choose a shade that produces a calming and soothing experience. This would be appropriate for a bedroom.
For a home office, you want to be motivated and productive. A brilliant, vibrant hue will bring energy and encourage you to finish the day’s list of tasks. This can be true in the kitchen as well. You might need inspiration to create the most enticing entree.
Inspiring Elements
If you’re having difficulty finding a shade you fall in love with or believe you can love in the rooms you’re painting, try to find inspiration from different resources. Some ideas might require a bit of research, while others can be applied to your decorating aesthetic. Go to https://www.hgtv.com/design/remodel/interior-remodel/paint-color-and-decorating-tips for guidance on paint color and interior design.
• Complement the furnishing or accessories. The upholstery could have threading that stands out, or a pillow’s pattern could highlight the ideal shade you’ve been looking for. You can also check magazines, Pinterest, or decorating sites for rooms that draw you in.
• Loved ones and close friends are a good resource if your find their homes comfortable and inviting. Check the colors on their walls, which you might have overlooked when visiting.
• Look at the shades in your favorite artwork to see which hues pop out at you. What feelings do they produce, and could you live with this on your walls or as an accent wall?
Color Wheels
Color wheels are the ideal tool for selecting a color palette for your home. The wheel displays how each color has a complementary shade to help you develop your overall scheme.
This can not only help with the paint colors but also help select other pieces like window treatments, accessories, and consider a fabric for some of the furnishings, your decorating aesthetic.
Dialing in Bold Colors
While you might believe you’re ready for a vibrant shade for your home, living with a sample for a few days could make you hesitant. Instead of going full tilt with the bold shade, you can learn to dial it in to prevent the tone from overpowering the space.
It’s better to do this than to return to what feels safe, such as a cream, off-white or beige tone. These aren’t awful choices, but you can have the color you want in a slightly lighter shade or two or use the color on just one dominant wall instead of giving it up altogether.
Getting Started with Painting as a Beginner
It’s not necessary to be an expert to paint the interior of your home. As you maneuver through a project, your skills will improve. Even professionals started from the ground up. While it can be challenging, following a few beginner’s tips will help you get started.
Follow the “W” Pattern
When using a roller to apply the paint, the experts use a “W” pattern. You could find this an unusual technique, believing the straight up and down to make more sense. However, this is how seasoned pros cover a vast surface without creating seams with the result.
The process involves painting a “W” pattern with the remaining space filled vertically without pulling the roller away from the wall. This should be repeated until the entire wall is covered.
Removing the Painter’s Tape
The painter’s tape should not be removed too soon. You want to wait until the paint is relatively dry before removing it. Taking it off too soon can lead to drips or leaks on the surfaces you were trying to protect. You also want to avoid pulling the tape too long after the paint has dried.
Waiting too long can leave residue behind. This process needs to be done at just the right time. It can be challenging to know as a beginner when the paint is almost dry or has just dried, but this is the ideal time for the tape to be removed.
Check resources online to find out how to tell when the paint is at the right stage for tape removal or speak with a painting professional.
Gentle Wall Sanding
Before painting, rough walls can benefit from gentle sanding for optimal prep. Some people do this following primer application, and some choose to sand before the primer goes on. It’s a matter of personal preference.
Fine-grit sandpaper should be used when noticing ridges or bumps before beginning the painting process to remove these. Some homeowners sand the trim between coats for the smoothest finish.
If you choose this path, make sure to sweep or vacuum the trim after sanding so the dust doesn’t stick to the new coat of paint.
Moving from Highest to Bottom
Painting an interior room in your house should involve moving from the top of the space to the bottom. If you are doing the ceilings, these should be the first areas painted, and then move on to the walls. A grid pattern will be implemented instead of using the “W” approach with the ceiling.
This involves marking off areas that are roughly between 3 and 6 square feet. The edges should remain wet while moving from one location to the next to ensure the coat is even over the entire surface.
Paint Should be Mixed in One Container
Homeowners often buy single-gallon containers, but this runs the risk of the paint looking different each time a new can is opened. The recommendation is to use a large container to pour all the cans into and mix these together for a cohesive application for the whole project.
You should finish a wall before stopping for the day. When starting again, the container should be stirred thoroughly to avoid an uneven look in the space.
One suggestion to ensure you get the same formula if you run out of paint and need touchup in the future is to write the paint color name on the back of a switch or light plate with a dot of the color. You can then take the plate to the paint store for a color match.
Painting the Trim
The suggestion earlier was to start with the ceiling and work your way down; that is true. However, the trim should be painted before moving, beginning with the ceiling. When cutting in, you should allow roughly six inches away from the baseboards, windows, and other elements not being painted.
When you allow sufficient space away from these areas, the central part of the painting will be more straightforward and simpler with the roller. Painting the trim or cutting in with the brush can be challenging, but it will be a smoother process with the painter’s tape on the areas not to be painted.
Following online tutorials, you can cut in freehand to establish a seamless band of paint along each edge. It requires a fine brush and a very steady hand. Many homeowners use painter’s tape for ease of the process. This will mask off doors, windows, baseboards, and any area you want to protect from paint.
• The painter’s tape should be pressed firmly into the crevices to avoid the likelihood of paint seeping beneath the tape or bleeding through.
• Painter’s tape on non-textured areas will be applied in overlapping, short strips for greater coverage and control.
Suppose your ceiling is textured and won’t be painted. In that case, the recommendation is to slide a screwdriver along the ceiling’s edge to establish a non-textured, unnoticeable surface to adhere to the tape. A straight edge will be more readily created.
• For an accent wall, mask the inside edge of the surface from the remainder of the room.
Finding the right painter’s tape for masking the project is essential; it must have an adequate adhesion level. Some are better for textured walls while others are meant for delicate surfaces including wallpapered walls, freshly painted surfaces, or finished hardwood.
Drop Cloths
Drop cloths should cover the floors to prevent paint from dripping over finished surfaces. You can also either cover furnishings with cloths or move the furniture out of the space to ensure optimal protection. If you keep these pieces in the room, move the furnishings to the center of the room and cover them with the cloths.

• A canvas or cotton drop cloth is better than most other options. These are absorbent, so the pain dries instead of being walked in and tracked throughout the house. These are also durable, allowing reuse.
• Plastic drop cloths are also a durable and cost-efficient material, but they are not absorbent. This means splatters and spills can be stepped in and mark up the flooring.
• Paper is the most budget-friendly but the least durable. It can tear, leaving the floor exposed to drips and splatters. Paper is better for covering furniture, cupboards, and light fixtures.
Final Thought
Vancouver homeowners who want a fresh, updated look without renovating their homes have the option of painting the house interior. It’s a relatively straightforward approach to changing the entire aesthetic on a budget. Read here for ideas on home improvement.


