Removable wallpaper is a great way to add some personality to your bathroom. It can be removed without damaging the wall, and it’s easy to clean. Sticker wallpaper can be used on a wall to create any pattern for decoration. They are affordable and DIY-friendly which is a great alternative to traditional wallcoverings. They are very effective since they require no messy paste when applying them, mainly because they are self-adhesive therefore. This also creates room for someone to correct any mistakes made since you can pull it off and apply it again in case of a mistake.
Applying this removable wallpaper might seem very tiresome and some people might tend to think that it hard and they can’t do It, but by following a certain procedure one can be able to install them all by themselves. Therefore, we are going to look at how to apply the removable wallpaper and how to remove them when you want.
Installing Removable Wallpaper
Getting the Right Tools
If you want to accomplish any job, then it is key to get the right tools for the job. In this case, you need the required tools for the installation of removable wallpaper in your bathroom. These tools include;
· squeegee,
· sandpaper,
· a sponge/cloth,
· a tape measure,
· a tool blade,
· Yardstick,
· utile knife,
· self-healing cutting mat,
· pencil,
· expo dry erase marker,
· a step ladder,
· carpenters level,
· a metallic ruler.
These are some of the basic tools that you require for the job.
Preparation
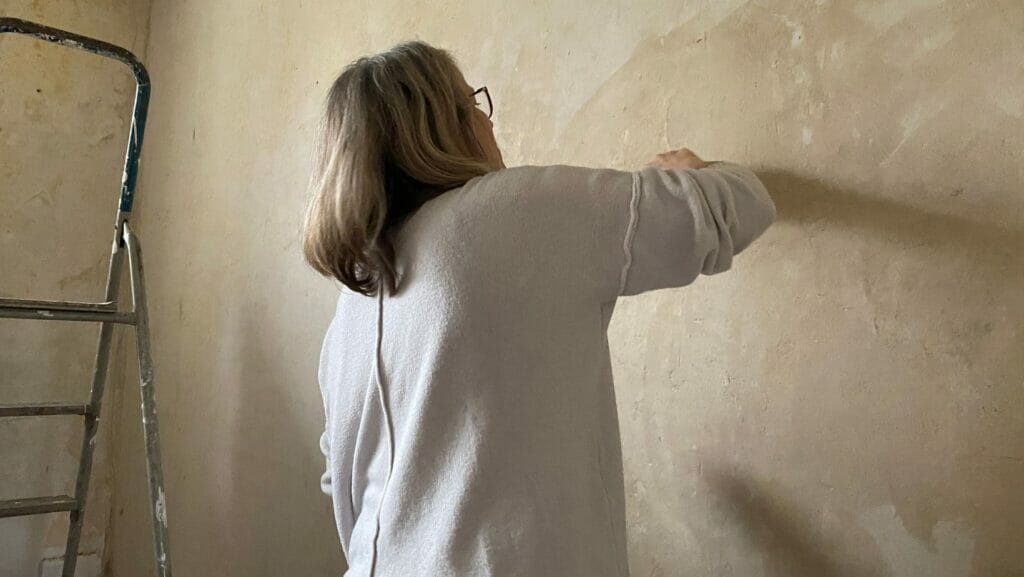
You should make sure that your wall is ready so that you can easily and effectively apply the wallpaper. First, you make sure to remove all the faceplates on the wall such as the switches and the sockets.
You may opt to remove other things such as the sink or the seat toilet if you feel like they are going to interfere with your work. The second thing is to check if you’re your wall has extra layers of wallpaper. If so then remove them then using sandpaper smoothen the wall thoroughly. Using a wet cloth or sponge clean the wall then check for any large bumps and holes.
Pre-cut The Wallpaper
Using the tape measure the height and width of the bathroom wall to determine how many panels to use. Pre-cut your first panel to the height of the wall and give a 5cm to 7cm allowance at the bottom of the wallpaper.
In every wallpaper, at the top corner edge, there are numbers made to direct you to the wallpaper’s pattern. While cutting makes sure to align the pattern consecutively to avoid getting any overlaps. Using the level make markings on the wall to act as a guide for you
Mounting The Wallpaper
Following the guide marks on the wall install the bathroom wallpaper beginning from the top edge of the wall and ensure to maintain a straight application of the wallpaper to the wall. Then take the squeegee and use it to smooth your paper from the centre moving outwards.
This is to eliminate any bubbling in the wallpaper. Continue the smoothing up to the bottom edge of the wall. Repeat the application on all the sections following the steps correctly until the wall is fully covered with the wallpaper. Use the utile knife to trim where there is a need to complete the application.
Taking Down Removable Wallpaper
Taking down the removable wallpaper is an easy exercise since they were made to be easily used. However, this will depend on how you first installed the wallpaper. If you follow the right guidelines for applying the wallpaper, then taking them down will be a simple job. If you want to take them down, then this is how you do it.

Getting The Right Tools
Once again in every job you have to get the right tools required for the job. While taking down the wallpaper there are specific tools that you need to get which will be effective for the job. These tools include; Drop cloth, spray bottle or pump sprayer, putty knife, painter’s tape, wallpaper scorer, wall scraper and liquid fabric softener.
Preparation
Before get down to the process of removing the wallpaper it is important to cover the floor and other surfaces such as the sinks and the seat toilet, since you don’t want any glue sticking on these features and staining them. This is where the drop cloth comes in handy. Use the drop cloth to cover any surfaces that you would want to protect from getting stains from the dropping materials.
Taking It Down
Stand on the ladder and using a putty knife peel off the wallpaper on the top corner. When you have peeled a sensible piece of the wallpaper and you can hold the end of the paper then hold it by taking the sheet between your fingers and continue to remove it.
If you like the pattern much and you would like to use it somewhere else in the house, then aim to pull the wallpaper directly downwards rather than roughly pulling it off the wall. This is because your main aim is to remove it in a way that you can reuse it later on. By doing this you avoid curling or even bending the wallpaper. Luckily the removable wallpaper was designed to come down easily compared to other types of wallpapers. Therefore, all you need is to easily pull the wallpaper away from the wall.
Conclusion
When it comes to installing or even bringing down the wallpaper you need to take your time and do it the right way. Some people may say that this kind of work should be left to professionals but I would say that anybody can do it with the right skill.
Especially when it is the removable wallpaper because it is simply designed to be installed and removed easily. It was designed to make your work easier as well as meet the need for different styles. You should be able to complete the full installation and take down the removable wallpaper with fewer difficulties if you follow the given procedure.


