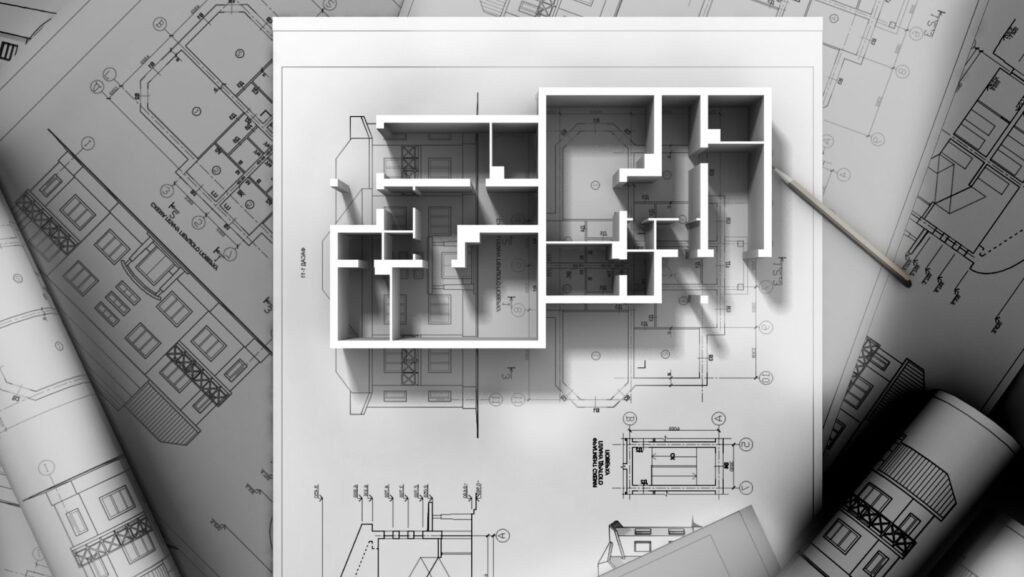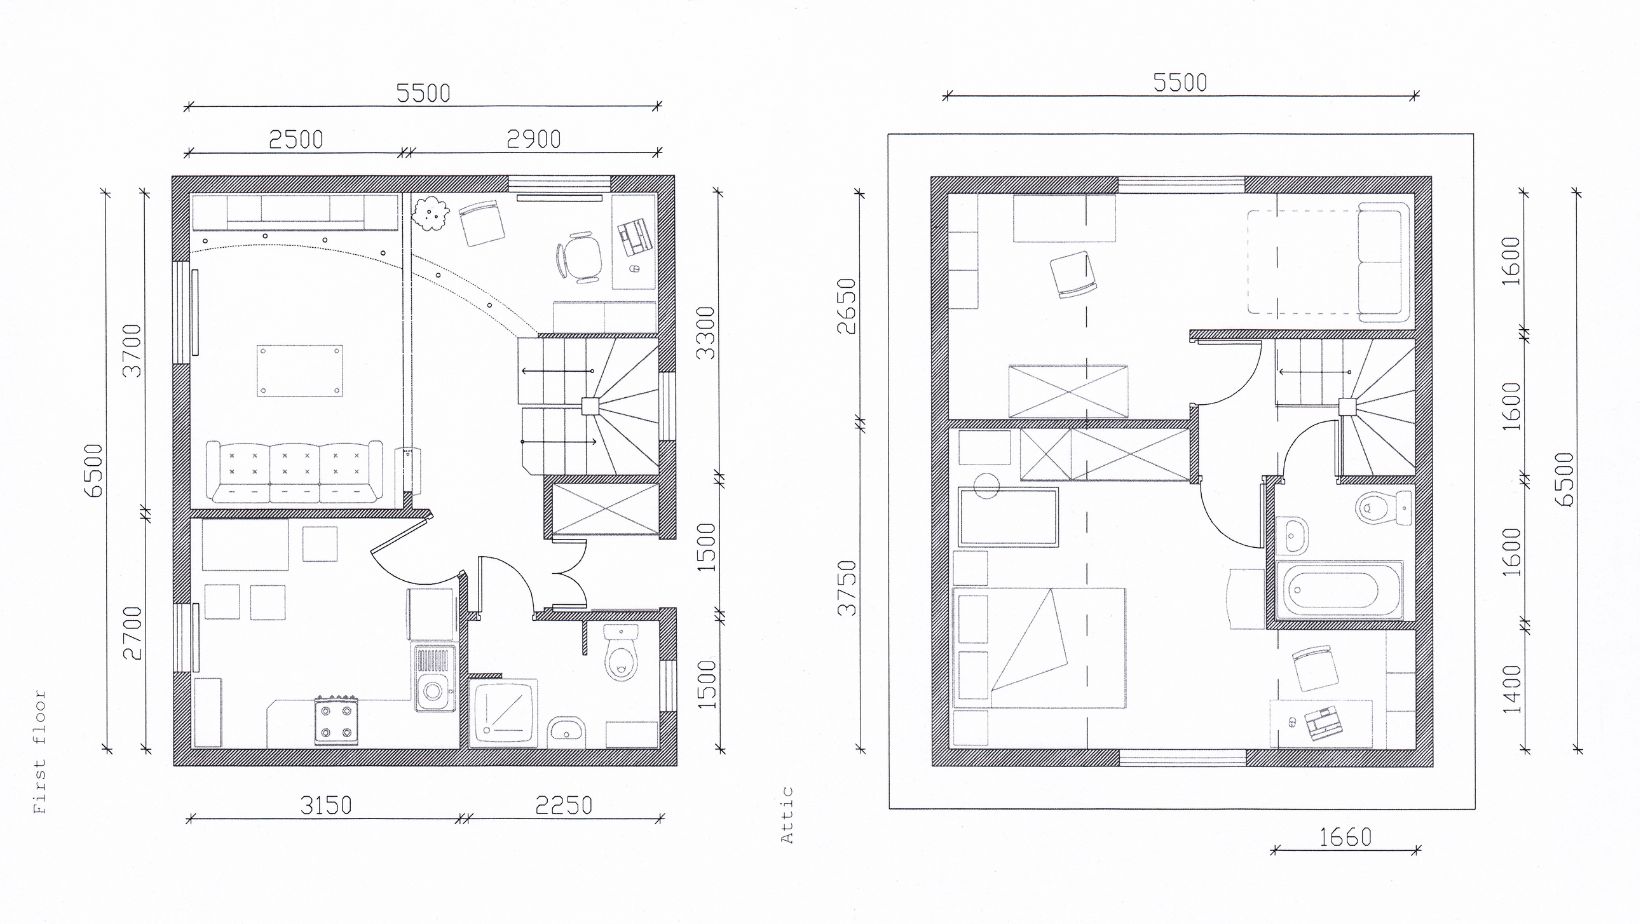
Located on the southeastern coast of Australia, Sydney is a vibrant and bustling city known for its iconic landmarks, stunning harbour, and diverse cultural scene. As the largest city in Australia, Sydney offers a unique blend of natural beauty, architectural marvels, and a thriving design community. Drawing a floor plan in Sydney takes on an added significance, considering the city’s rich architectural heritage and the need to create functional and visually appealing spaces that harmonize with the city’s unique environment. This article will guide you through drawing a floor plan. Whether planning a home renovation, exploring interior design, or simply seeking to improve your spatial planning skills, mastering the art of drawing a floor plan in Sydney will enable you to create spaces that reflect the city’s vibrant spirit and embrace its architectural beauty. If you want to learn more about floor planning and drawing, you can consider joining an interior design course in Sydney that will give you more in-depth knowledge of the subject matter.
Understanding the Importance of Floor Plans
Floor plans are the foundation of any architectural or design project. They provide a bird’s-eye view of a space, offering crucial information about a room’s dimensions, layout, and flow. A well-drawn floor plan allows space visualization and informed decision-making about furniture placement, traffic flow, and overall design. It guides construction, renovation, and interior design projects, ensuring accuracy and efficiency. Whether designing a new home or reconfiguring an existing space, mastering the skill of drawing a floor plan will greatly enhance the ability to bring a vision to life.
Essential Materials for Floor Plan Drawing
Before diving into the process, gathering the necessary tools for drawing a floor plan is important. Tools such as a tape measure for taking accurate measurements, graph paper or a drawing board for sketching, a ruler or straight edge for drawing straight lines, and pencils or pens for marking drawings are essential. A scale ruler is also helpful for accurately representing the dimensions of the space on paper. Having these tools ready will ensure efficiency and the production of precise floor plans.
The Foundation of a Floor Plan
Accurate measurements are crucial for creating a precise and reliable floor plan. First, measure each wall’s length and width, and note any protrusions like windows, doors, or architectural features. Measure from the inside edge of each wall to ensure accuracy. Measuring the room’s height is also essential as it influences the representation of vertical elements such as windows and doors. Pay close attention to the proportions and angles of the space, as they impact the overall layout and design.
Translating Measurements to Paper
To accurately represent the dimensions of space on paper, it is necessary to establish a scale. A scale is a ratio that determines the relationship between the measurements on the floor plan and the actual measurements of the room. Standard scales used in floor plan drawing include 1/4 inch equals 1 foot (1:48), 1/2 inch equals 1 foot (1:24), or 1 inch equals 1 foot (1:12).

Choose a scale that allows for a clear representation of the space while fitting within the dimensions of the paper or drawing board. Using a scale ruler, carefully measure and mark the appropriate distance on the paper for each unit of measurement.
Outlining the Structure of the Space
With accurate measurements and a scale in place, it is time to start sketching the walls of the space on the floor plan. Begin by drawing straight lines to represent each wall, using a ruler or straight edge for precision. To ensure accurate representation, pay attention to the angles and intersections where walls meet. Indicate windows and doors by drawing openings in the walls, marking their dimensions and locations. By sketching the walls, the basic structure of the space is created, providing a foundation for further detailing.
Designing the Interior Space
Once the walls are in place, it is time to add furniture and fixtures to the floor plan. Consider the purpose and layout of the space and begin placing furniture elements accordingly. Start with large pieces like beds, sofas, and tables, then add smaller items like chairs, lamps, and accessories. Ensure sufficient movement and traffic flow space for a balanced and visually pleasing arrangement. Use symbols or simple drawings to represent the furniture, and include measurements to indicate their size and positioning within the room.
Optimizing the Layout
An important aspect of floor plan design is considering the flow of movement within the space. Analyze how people navigate the room and ensure clear pathways and sufficient space to move around comfortably. Avoid placing furniture or fixtures in a way that obstructs traffic flow. For example, arrange seating areas to allow for easy conversation and movement. A functional and user-friendly space can be created by optimizing the traffic flow.
Adding Style and Personality
A floor plan serves as a functional tool and allows one to incorporate design elements that reflect personal style and taste. Consider adding architectural features such as columns, arches, or alcoves to enhance the visual appeal of the space. Experiment with different textures, patterns, and colours to create a unique and inviting atmosphere. Strive for a balance between functionality and aesthetics, ensuring the design elements are cohesive and harmonious with the floor plan.
Evaluating and Refining the Floor Plan
After completing the initial floor plan, it is beneficial to seek feedback from others. Share your floor plan with family members, friends, or professionals in the field to gather different perspectives and insights.

Consider their feedback and suggestions to refine further and improve the design. This collaborative process can help identify potential issues or opportunities that may have been overlooked.
Leveraging Digital Tools for Floor Plan Creation
In today’s digital age, numerous software programs and online tools can assist in creating floor plans. These tools offer drag-and-drop furniture placement, customizable room dimensions, and 3D visualization. Incorporating technology can make the design process smoother and yield a more precise outcome. Explore different software options and find one that best suits your needs and preferences.
Continuing Education
Consider enrolling in an interior design course to further enhance your skills in drawing floor plans and interior design. These courses provide valuable knowledge and insights into design principles, space planning, and industry trends. Whether you are a beginner or have some experience in the field, an interior design course can expand your understanding and refine your skills. Look for reputable institutions or online platforms that offer interior design courses, such as interior design courses in Sydney, to enhance your expertise.
Conclusion
Drawing a floor plan is essential for anyone involved in architecture, interior design, or home renovation. It visually represents a space, enabling precise design and optimal functionality. By understanding the importance of floor plans, gathering the necessary tools, taking accurate measurements, creating a scale, sketching the walls, adding furniture and fixtures, considering traffic flow, incorporating design elements, seeking feedback, and utilizing technology, you can effectively draw a floor plan that brings your vision to life. Remember to continuously learn and improve your skills through education and training, such as an interior design course in Sydney, to stay up-to-date with industry practices and trends. With practice and creativity, you can master the art of drawing floor plans and create stunning spaces that meet your functional and aesthetic needs.


