Preparation is key to achieving a high-quality finish before undertaking any painting project. One of the most important steps in the preparation process, particularly for outdoor painting projects, is pressure washing, which helps create the perfect surface for fresh paint to adhere to.
What is Pressure Washing?
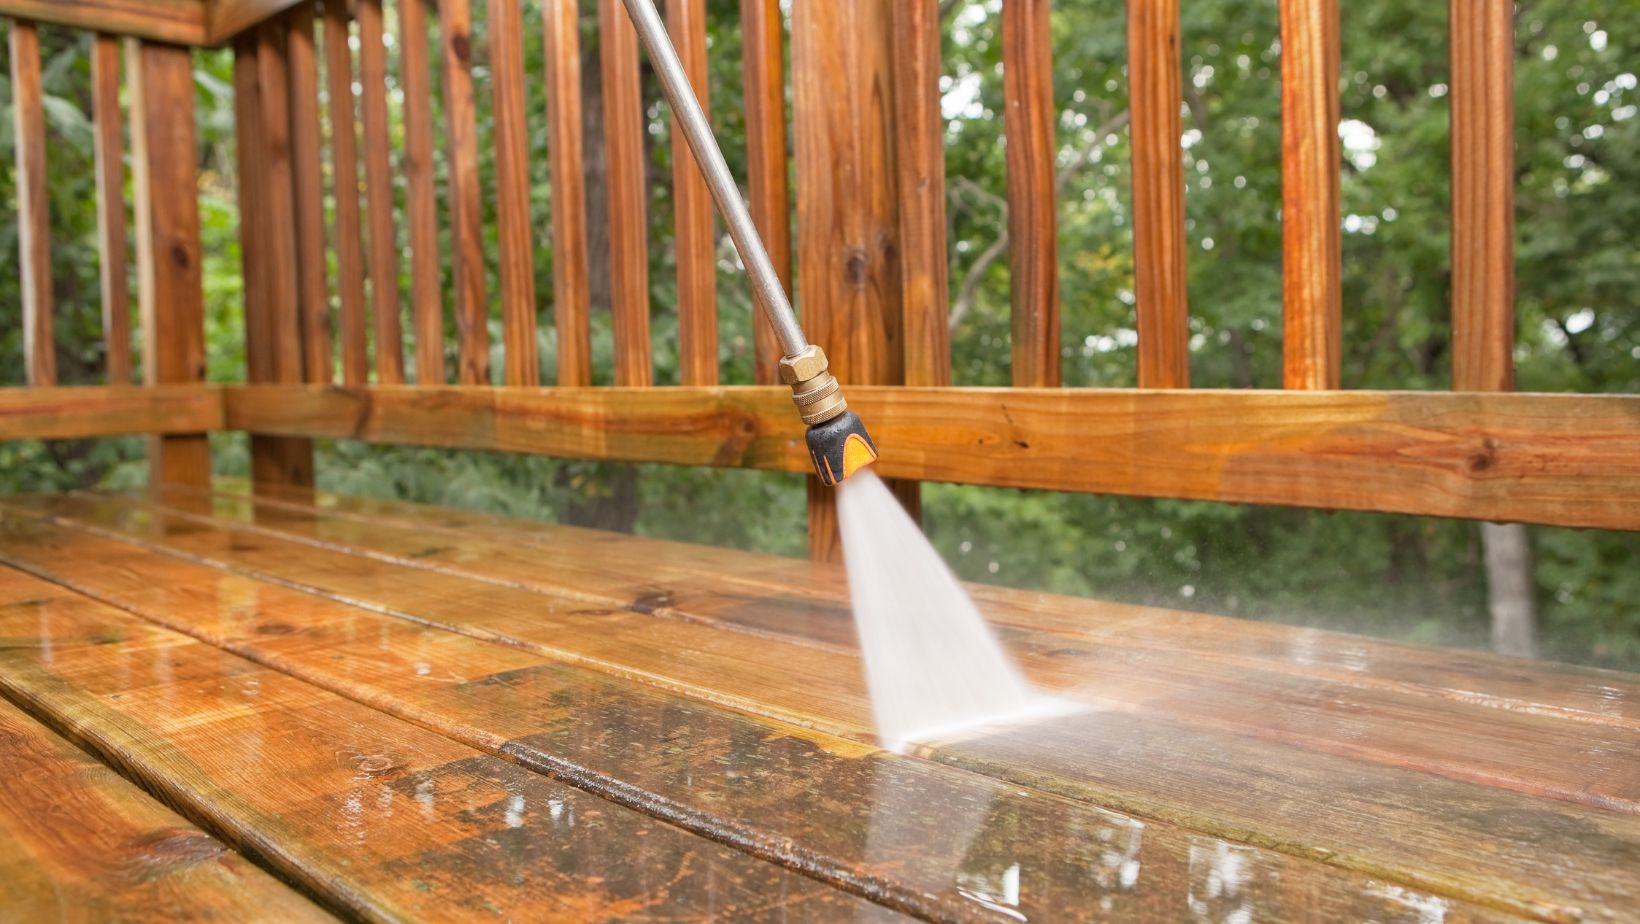
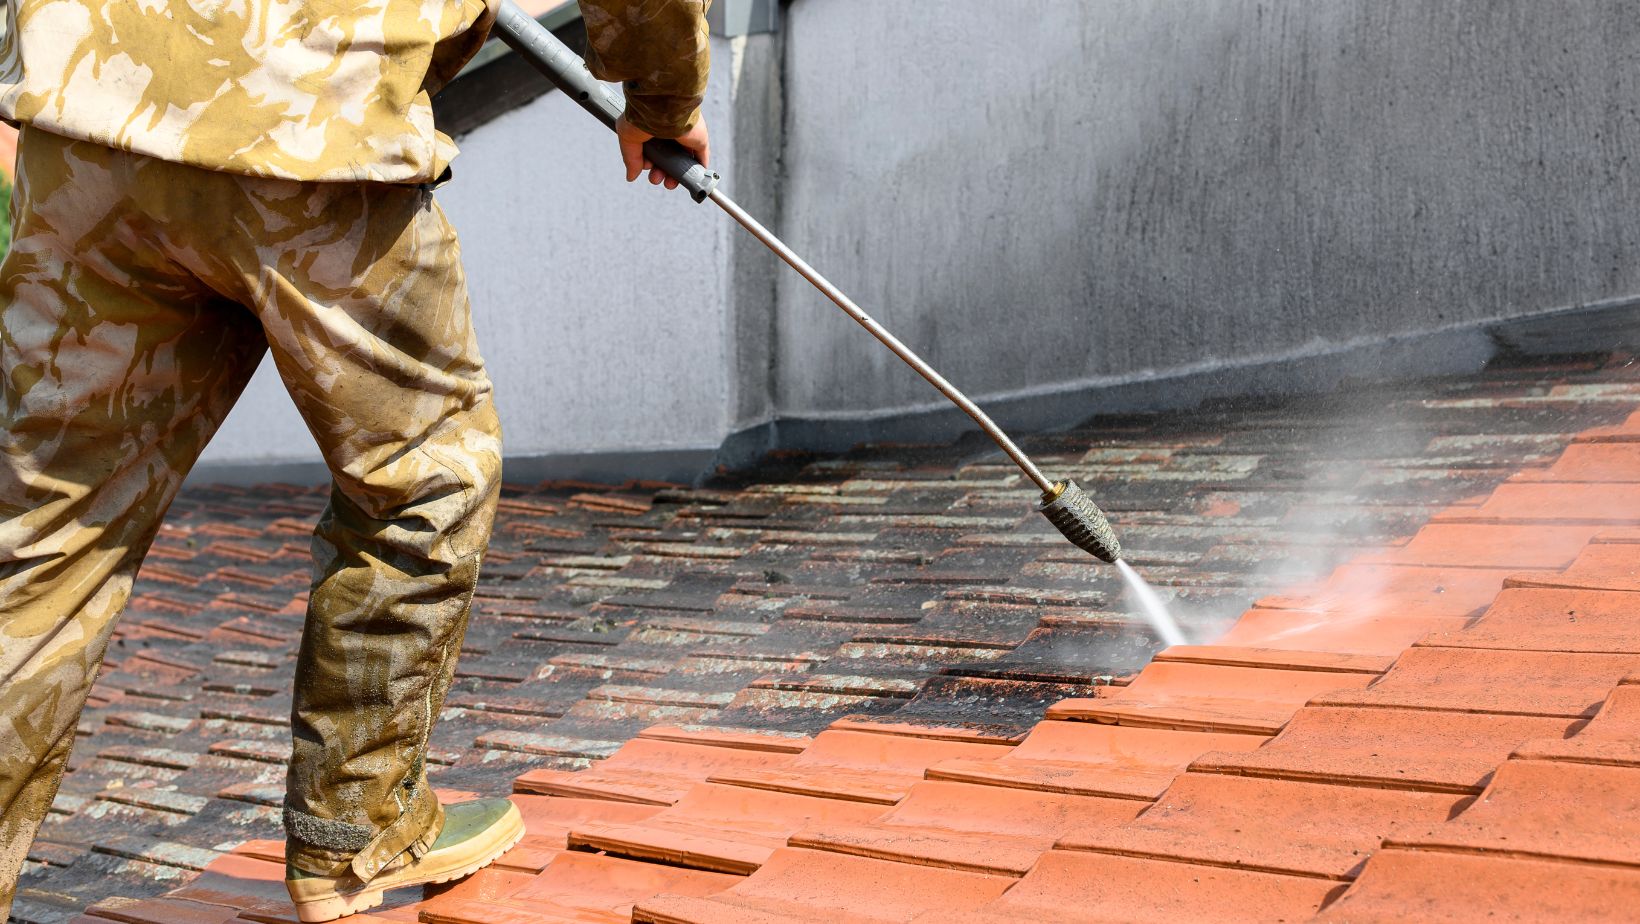
Pressure or power washing uses a high-pressure water spray to remove dust, dirt, grime, loose paint, mold, and other substances from surfaces. It’s an effective and efficient method of cleaning most exterior surfaces, such as walls, driveways, and decks. To achieve optimal results, selecting the right equipment is essential. For instance, a 3/8 pressure wash hose is often recommended for its durability and ability to handle significant water flow without compromising pressure
Coupling the hose with a rotary nozzle and a surface cleaner attachment can further enhance the cleaning process, allowing for more thorough removal of stubborn stains and buildup. These tools are critical in ensuring the pressure washing technique effectively prepares surfaces for further treatment, like painting or sealing.
In addition to the basic setup, the choice of pressure washer pump is crucial for the success of a pressure washing project. Like triplex pumps, high-quality pumps offer excellent pressure stability and longer life, which is ideal for professional-grade cleaning tasks. Pairing these pumps with the right accessories ensures consistent and powerful water output, which is essential for tackling tough jobs like stripping old paint or deep-seated dirt.
Adjusting pressure controls can help tailor the water force to specific surfaces, preventing damage to more delicate areas like wood siding or ornamental stonework. Together, these tools create a versatile and practical cleaning system that can adapt to various cleaning needs, ensuring thorough preparation and clean-up of surfaces to be painted or treated.
Is it necessary to pressure wash before painting?
Yes, pressure washing is highly recommended before painting. Pressure washing professionals like Full Color Cleaners hold the consensus that thorough cleaning is one of the most crucial steps leading up to a successful painting project. Here’s why:
Surface Preparation
The primary purpose of pressure washing is to clean the surface, effectively removing dirt, grime, mold, and mildew that may have accumulated over time. This is vital because painting over a dirty surface can negatively impact the appearance of your paint job and can cause the fresh paint to chip or peel prematurely.
Promoting Adhesion
A smooth, clean surface is key to promoting better paint adhesion. Stated, paint adheres better and looks more even on a clean surface as opposed to a dirty or uneven one. Pressure washing not only cleans the surface but also opens the pores of the material — whether it be brick, wood, or siding — which allows the paint to penetrate deeper and bond stronger with the surface. This leads to a high-quality, long-lasting finish.
Removing Loose or Peeling Paint
Over time, paint can start peeling or flaking off a surface due to weather, humidity, and poor adhesion. Pressure washing effectively removes loose and peeling paint from the surface, which is a crucial step before applying a fresh coat of paint. Painting over peeling paint can result in a rough and uneven finish. On the other hand, a pressure-washed surface guarantees smooth, even application of the new paint.
Identifying Surface Issues
In addition to preparing the surface, pressure washing can bring to light any underlying issues that may impact the final result. Issues such as rotting wood, damage from insects, or mold problems can be more easily spotted on a clean surface. Identifying and addressing these issues before painting can help increase the longevity and quality of your paint job.
Long-Lasting Results
By efficiently cleaning and prepping the surface, pressure washing helps the new paint last longer and prevents premature peeling and fading.
Should I DIY or Hire a Professional?
Do it Yourself (DIY)
You can rent or purchase a pressure washer and do the job yourself. Before you begin, research the proper techniques, settings, and tips for pressure washing various surfaces to avoid damaging your home’s exterior.
Note, however, that acquiring or renting pressure washing equipment can add to the overall cost of a painting project.
Hiring a Professional
This is an excellent option for those needing more time, equipment, or expertise to do the pressure washing themselves. Pressure washing professionals have the proper equipment, knowledge, and experience to ensure a thorough and efficient job. They do exterior cleaning and offer other services like window cleaning, gutter cleaning, and roof washing. You’ll get the complete package cleaning that you need.
Consider the Cost
Balance the costs by evaluating the necessity of purchasing equipment versus renting and consider hiring professionals for larger or more complex projects.
Painting Prep: Steps before Pressure Washing
Whether DIY or seeking professional help, here are the essential steps before undergoing pressure washing:
Inspect the House Exterior and the Surrounding Area
Examine the house for any damages, peeling paint, or other issues that need to be addressed before pressure washing.

Close windows and doors, and make sure to notify any neighbors who may be affected by the pressure-washing process
Cover Electrical Outlets and Fixtures
To avoid water damage, make sure to cover all electrical outlets, light fixtures, and other delicate areas with waterproof materials.
Move Outdoor Furniture and Decorations
Clear the area around the house by relocating any outdoor furniture, decorations, and potted plants to prevent damage during cleaning.
Trim Overgrown Plants
Cut back any overhanging branches or shrubs that might interfere with the pressure-washing process.
Choose the Appropriate Detergent
Select a detergent compatible with the exterior material of your house to ensure optimal cleaning results.
Set up the pressure washer:
Professionals should use a high-pressure rinse and appropriate nozzle size to remove debris, dirt, and residue without damaging the house’s surface.
Drying Time After Pressure Wash
Ideally, waiting for the surface to dry completely before painting is best. Here are the general guidelines to ensure that the surface is dry to avoid any moisture-related issues with the paint:
Weather Conditions
Surfaces may dry relatively quickly in optimal weather conditions, with ample sunlight and low humidity. However, interfaces could take a few hours to fill them completely.
Humidity Levels
Lower humidity levels facilitate faster evaporation, resulting in quicker drying times. In arid climates or during dry seasons, surfaces may dry more rapidly.
High humidity can slow down the evaporation process, prolonging the drying time. In humid conditions, surfaces may take longer to completely dry.
Type of Surface
Surfaces such as wood or concrete may absorb water, extending the drying time. Allowing enough time for the water to evaporate from within the material is essential.
Smooth and non-porous surfaces like vinyl or metal dry faster as water does not penetrate as deeply.
Painting Techniques
Selecting the Right Paint and Primer
Choosing the right paint and primer involves considering factors like surface type, the importance of priming for adhesion and durability, environmental considerations, and low-VOC or volatile organic Compound options.
Selecting the Right Tools
Using the correct tools, such as a brush, roller, or spray, can help achieve even coverage and avoid streaks, especially in challenging areas.
Troubleshooting Common Issues
What happens if it rains 12 hours after painting a deck?
If it rains shortly after painting a deck, the rainwater can cause the paint to run, streak, or wash away, resulting in an uneven finish. It is important to check the weather forecast and ensure that there is no rain in the forecast for at least 24-48 hours after painting.
Why is my deck fuzzy after pressure washing?
Pressure washing can sometimes cause the wood fibers on a deck to become raised, resulting in a fuzzy or rough texture.

This can be resolved by lightly sanding the deck after it has dried to smooth out the raised fibers before painting or staining.
What happens if you paint pressure-treated wood too soon?
If pressure-treated wood is painted too soon, the moisture trapped inside the wood can cause the paint to bubble, peel, or crack. It is crucial to allow the wood to dry and stabilize for the recommended period before applying any paint or stain.
Conclusion
To wrap up, pressure washing and proper painting preparation are crucial to any successful painting project. By being aware of the benefits and following the guidelines mentioned, you can ensure a visually appealing result and a property that will stand the test of time.


