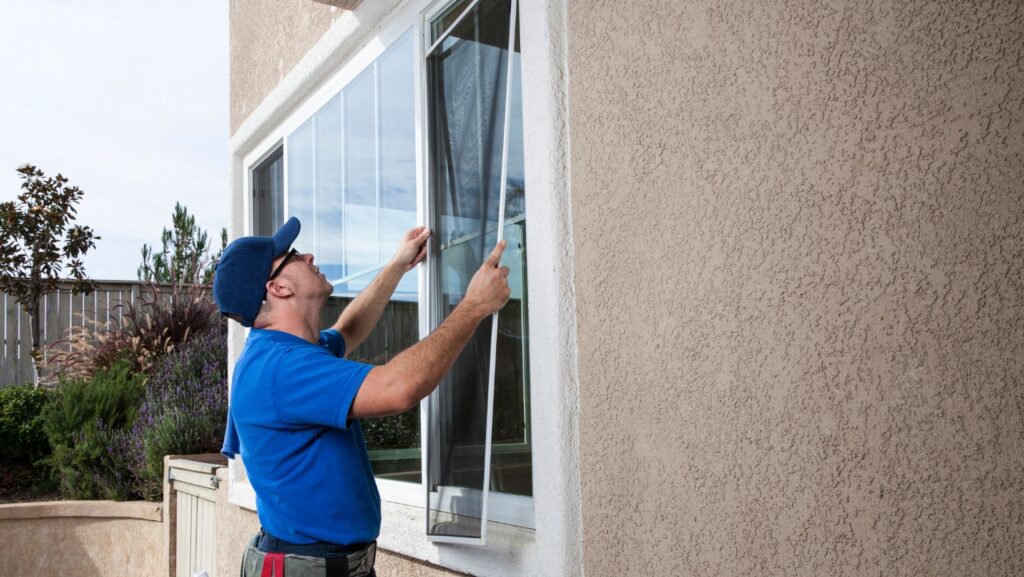
Sash windows add character and comfort to a home, but installing them is not as simple as swapping out old frames for new ones. Without the right preparation, the process can be messy, disruptive, and more expensive than it needs to be. This guide explains how to prepare your home step by step so the sash window installation runs smoothly, your property stays protected, and you get the most out of your investment.
Before the Installers Arrive
Successful installation starts with careful planning. This stage ensures the project is clearly defined and avoids delays later on.
Confirm the Project Details
Discuss the scope of work with your installer in advance. Which windows are being replaced? What type of materials are being used? How long will the project take? For homes in conservation areas, you may also need planning permission. Having clarity on these points saves time and prevents setbacks once the work begins.
Understand the Measurements
Professional installers take accurate measurements, but it helps to know why this step matters. Older properties often have frames that are slightly out of square.

Being aware of this makes it easier to understand why adjustments are needed on site, such as trimming frames or sealing gaps, and keeps you involved in the process.
Preparing Your Living Space
Once the details are sorted, the next priority is getting your home ready for the work itself.
A clean, organised space makes the job quicker and protects your belongings.
Clear and Protect the Area
Move large furniture at least a metre away from windows so frames can be carried in and out without risk of damage. Remove blinds, curtains, and poles, and roll up rugs to avoid collecting dust. Protect your floors with dust sheets and relocate fragile items such as photographs, ornaments, or electronics to another room. These simple but practical tasks form a big part of preparing for sash window installation, creating a safe environment where installers can work efficiently.
Keep Children and Pets Safe
Open frames and sharp tools create hazards during installation. For safety, keep children and pets in another area of the house or arrange for them to stay with relatives. This prevents accidents and helps installers stay focused, reducing the overall time needed for the job.
Practical Details That Make a Difference
Even if your rooms are ready, there are other factors that influence how smoothly installation day will go.
Check the Weather Forecast
Rain, strong winds, or damp conditions can affect sealing and finishing. Try to schedule the work during dry weather. If the project runs over more than one day, ask how your installer will protect open frames overnight to keep your home secure.
Communicate Clearly With the Team
Confirm when the team will arrive, how many workers are expected, and whether they will need access to power sockets, parking, or outdoor water. Clarify who is responsible for removing old windows and cleaning up afterwards, as these details can sometimes be overlooked. Clear communication avoids confusion and keeps the project on track.
Prepare the Outdoor Area
Scaffolding or ladders may be required, so make sure outdoor spaces are free from obstacles. Move garden furniture, toys, or plants that might get in the way. This ensures equipment can be set up safely and reduces the risk of accidental damage.
On the Day of Installation
By the time installers arrive, most of your work will already be done. A few final checks help the process start smoothly.
Final Preparations
Unlock gates and doors, clear pathways, and make sure protective coverings are secure. If you work from home, set up in another room to avoid dust and noise. A calm, well-prepared household helps installers stick to their schedule and minimises disruption for you.
After the Installation: What Happens Next?
Your role is not finished once the windows are fitted. A final inspection and some basic aftercare ensure they remain in top condition for years to come.
Inspect the Work Thoroughly
Check that each sash opens and closes smoothly, locks securely, and sits squarely in the frame. Look for drafts or gaps around the seals and ask the installer to make adjustments before they leave.
Replace Furnishings and Clean Up
Once everything is dry, reinstall curtains, blinds, and furniture. Clean surfaces to remove dust and enjoy the refreshed look of your home.
Learn Basic Maintenance
Ask your installer for care advice, such as how often to lubricate moving parts or when to repaint timber frames. Keeping up with these small tasks extends the lifespan of your windows. For many homeowners, preparing for sash window installation is more than a one-off task, it is part of ensuring the windows perform well and continue to add value to the home for decades.
Why Preparation Matters Long-Term?
Every step you take in advance, from moving furniture to confirming disposal of old frames, directly affects how smoothly the installation runs. Preparation protects your belongings, keeps your family safe, and allows the installers to deliver their best work. By thinking ahead, you not only make the day less stressful but also secure the long-term performance of your sash windows.


