Learning to cut laminate countertops requires precision and the right techniques. It’s a process that begins with a carefully measured and well-defined mark the cut, ensuring the final result is both functionally sound and aesthetically pleasing.
With careful planning and execution, you can achieve professional-looking results that enhance the beauty and functionality of your kitchen or bathroom.
Essential Tools and Safety Measures for Laminate Cutting
Equipping yourself with the right tools is crucial for a smooth cut. To get the right cut, you’ll need:
- A circular saw or jigsaw
- A belt sander
- Coarse and fine sandpaper or a sanding block
- Laminate edge sealer or clear silicone caulk
- Measuring tape
- Safety glasses
- Hearing protection
- Dust mask
Selecting the Right Saw: Circular vs. Jigsaw
Choosing the appropriate saw is critical for cutting laminate countertops.
A circular saw is ideal for making straight cuts swiftly and efficiently. It’s essential to mark the cut accurately and use a blade designed specifically for laminate to minimize chipping.
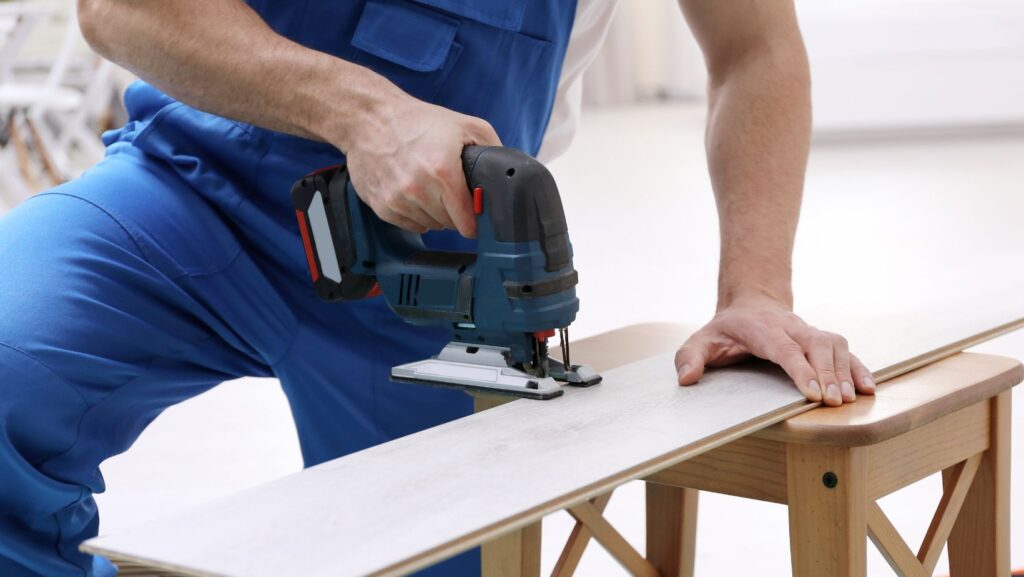
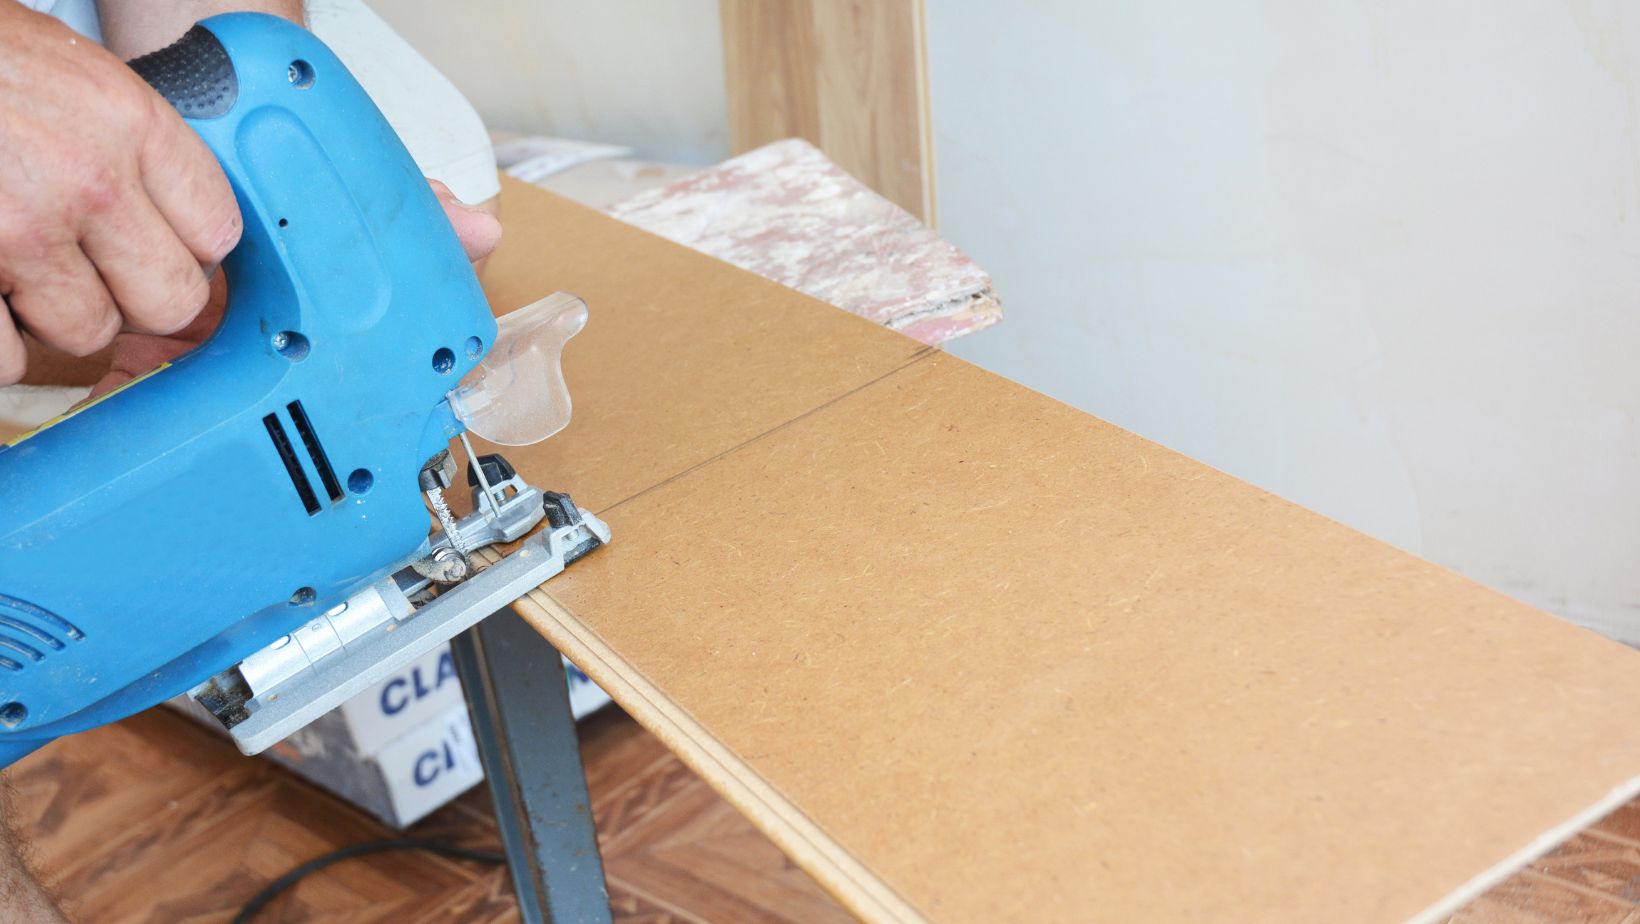
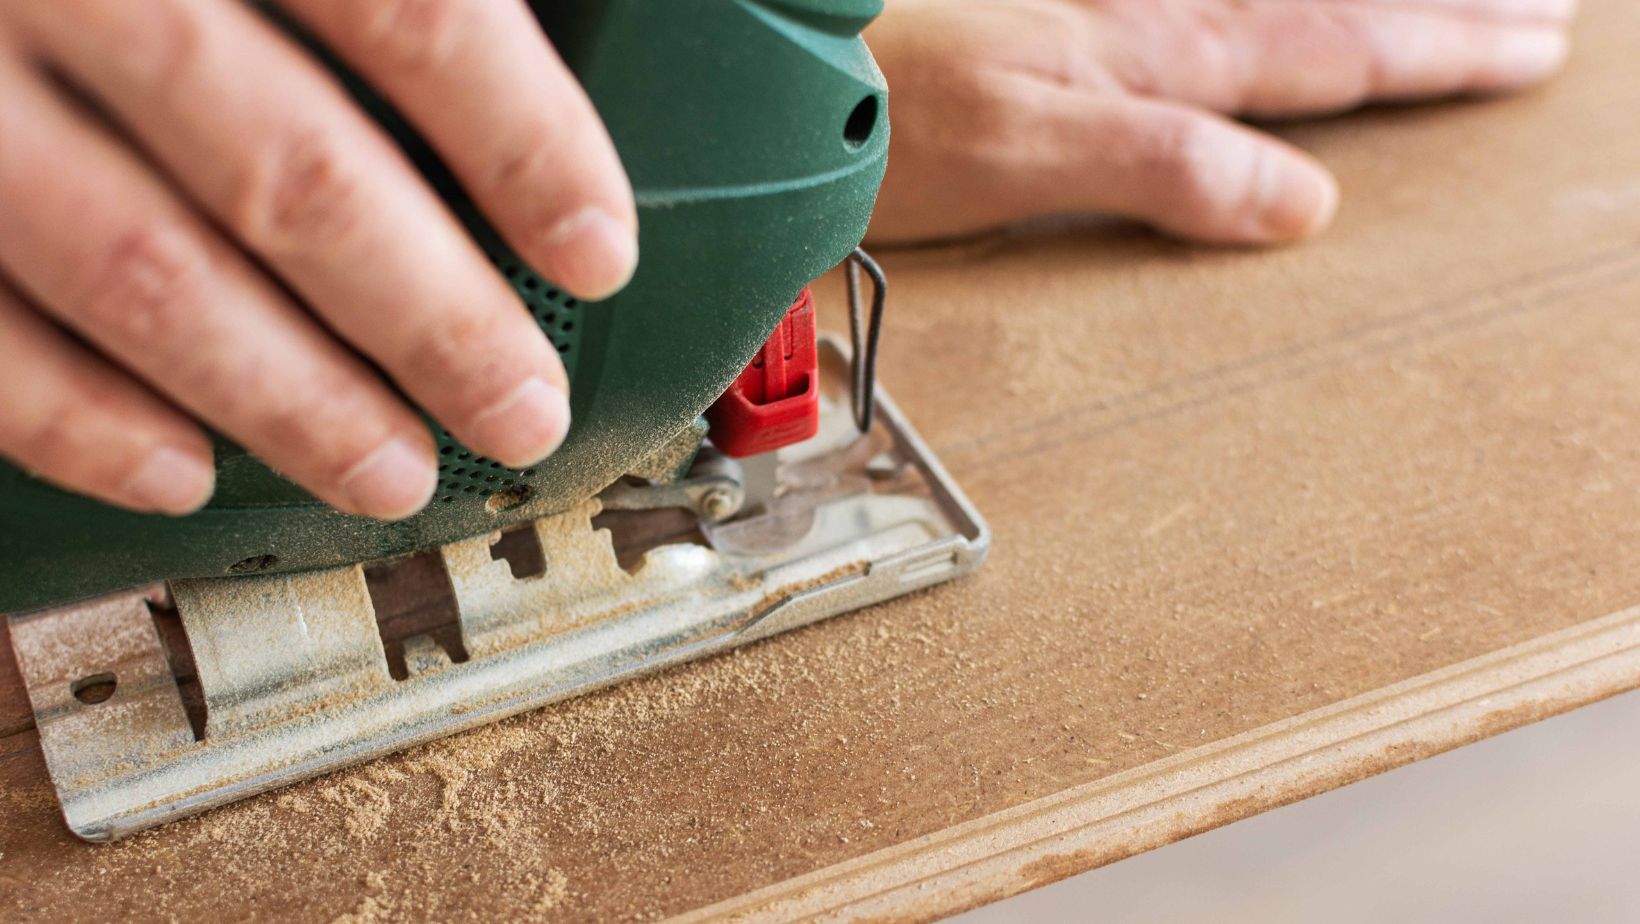
On the other hand, a jigsaw is more versatile, capable of executing intricate cuts and curves. When selecting a jigsaw blade, opt for one with fine teeth to ensure a cleaner cut.
When deciding between the two, consider the countertop’s shape and the type of cut required. If the project involves straight lines, a circular saw is your best bet. For more complex shapes or if you’re learning how to use a jigsaw, this tool will be more suitable. The material thickness and your level of comfort with each tool should also inform your decision.
Moreover, the circular saw’s blade depth and the jigsaw’s orbital settings are crucial factors. A shallow blade depth on the circular saw reduces the risk of mistakes, while the correct orbital setting on the jigsaw ensures smoother cuts. Always mark the cut line clearly on the laminate surface to guide whichever saw you choose.
Protective Gear and Safety Precautions
When operating saws, wearing protective equipment is non-negotiable. Essential items include safety glasses to shield your eyes from flying debris and sturdy gloves to protect your hands from cuts and abrasions. A dust mask is also advisable to prevent inhalation of fine particles.
Additionally, ensure your work environment is well-ventilated and free from clutter. Secure the laminate piece firmly before you begin to prevent any movement while cutting. Protective gear and a safe workspace are vital for a successful and injury-free project.
Step-by-Step Guide to Cutting Laminate Countertops
Preparing the Countertop and Workspace
Before cutting, ensure your countertop is properly supported on a stable surface. Affix the laminate securely and verify that your jigsaw blade is sharp and appropriate for the material. A flat metal file should be at hand for refining the edges after the cut.
Clear the workspace of unnecessary items and double-check your measurements. Applying a strip of painter’s tape over the cut line can help reduce splintering and provide a clear visual guide for where to apply your jigsaw blade.
Cutting Techniques for Precise Edges
Start by marking the cut line on the laminate surface for precise edges. A straightedge or square can help ensure your lines are true. When using a circular saw, align the blade just outside the mark to account for the kerf and maintain the correct dimensions.
With the saw running at full speed, guide it steadily along the line, using a guide fence if necessary for additional accuracy. Remember to support the cut-off piece to prevent it from snapping or causing chipping at the end of the cut.
Using a Circular Saw for Straight Cuts
A circular saw is the preferred tool for straight cuts. Begin by clearly marking the cut line on the laminate’s surface. Ensure the saw’s blade is aligned with the outside edge of the mark to maintain the correct width after the cut.
Keep the saw steady and follow the line closely. It’s helpful to use clamps and a straightedge as a guide to maintain a perfectly straight path. Remember to move consistently, allowing the blade to cut without forcing it, which could cause chipping or deviations from the line.
Employing a Jigsaw for Curved and Complex Shapes
A jigsaw becomes indispensable when dealing with curved and complex shapes. To reduce splintering and provide a clear path to follow, apply strips of masking tape along the cut line. The saw’s shoe should rest securely on the laminate surface to ensure stability during the cut.
To initiate the cut, drill a starting hole large enough for the jigsaw blade inside the laminate’s waste area. Then, carefully guide the jigsaw through the material, following the shape of your marked line. Keep the saw’s motion fluid to achieve a clean edge.
Finishing Touches: Smoothing and Perfecting Edges
After the cut laminate is free, smooth the edges with a belt sander, ensuring you move perpendicular to the cut to avoid further chipping the laminate.
Sanding Techniques for a Polished Look
The sanding process begins with a coarse grit to quickly remove roughness and progresses to finer grits for a smooth, polished edge. Sand in a consistent direction and avoid pressing too hard to prevent uneven surfaces or damage to the laminate.
A sanding block can help maintain a straight edge, especially when working perpendicular to the cut. This technique also helps avoid accidentally rounding the corners, which could detract from the finished look.
Final touches may include using very fine-grit sandpaper or a flat metal file to refine the edge to a smooth, touchable finish. Always sand in light, even strokes, checking your progress frequently to achieve the desired result.
Sealing Edges to Prevent Chipping and Peeling
To seal the edges and prevent future chipping and peeling of the cut laminate, apply a laminate edge sealer or a thin layer of clear silicone caulk. Ensure the application is even and covers the entire edge.
Work carefully, smoothing out any excess sealer with a damp cloth. Allow adequate time for the sealer to dry before using the countertop. This step not only protects the laminate but also gives your DIY project a professional appearance.
Tailoring Your Countertop: Cutouts for Sinks and Fixtures
Cutouts for sinks and fixtures require precision and the right tools for a seamless fit and polished look.
Accurate Measurements and Template Creation
Begin by taking precise measurements of the sink or fixture. Transfer these measurements to a cardboard or thin wood template, which will guide your cuts and ensure accuracy.
Secure the template to the countertop using double-sided tape or clamps. Then, mark the cut lines onto the laminate surface, making any necessary adjustments for a perfect fit before cutting.
Tips for Seamless Integration of Fixtures
Integrating fixtures into your laminate countertop requires precision to ensure a snug and professional fit. Here are some tips to guide you through the process:
- Begin by applying masking tape along the cut line on the laminate surface. This reduces chipping and allows you to draw a precise guideline for where to cut Formica.
- Ensure you have the correct measurements for your sink or fixture, and create a cardboard template if necessary. This will serve as a visual guide and help prevent mistakes during the cutting process.
- When you’re ready to cut, don the necessary protective equipment, such as safety glasses, gloves, and a dust mask to shield yourself from the fine particles.
- If you’re unsure how to use a jigsaw, practice on a scrap piece of laminate first. This tool is ideal for making the intricate cuts needed for fixtures. Remember to smooth the edges after cutting to prepare them for sealing.
After cutting, take additional steps to ensure a flawless finish:
- Test fit the fixture into the cutout to confirm that it fits perfectly. If adjustments are needed, carefully trim the edges, always moving the saw or router away from the laminate’s surface to avoid lifting the veneer.
- Sanding the edges gently with fine-grit sandpaper will smooth any rough spots and prepare the surface for edge banding or sealant, which will protect against moisture and wear.
- Finally, apply a bead of silicone around the edge of the cutout before installing the fixture to create a water-tight seal that will prevent water infiltration and potential damage.
The Final Cut
After meticulously measuring and cutting Formica, the final cut is crucial in achieving a flawless counter space. Remember to smooth the edges with care to ensure a professional finish. It’s also important to wear a dust mask during this process to protect your respiratory health.
While cutting laminate can be challenging, with the right techniques, your countertop will fit perfectly and exhibit the clean lines and smooth finish that are hallmarks of masterful craftsmanship.


