Put on your creative glasses to look around your garage, and you’ll see a space brimming with opportunity for your next (and possibly all future) DIY projects. Take the glasses off, and reality becomes clear–a dark dungeon overflowing with storage boxes and stuff you last used, god knows when.
But, these various tools scattered around, half-used cans of paint, and items “I might need later” should not stop you from transforming this hidden gem in your home into a fun and functional workstation. Here’s how:
4 Steps to Transform Your Garage
55% of Americans spend 1-2 hours weekly in the garages working on hobbies or other activities. If you are undertaking bigger projects, chances are you’ll be spending much more than that in the space–but the clutter can be a real bummer to the creativity.
So, here’s how you can change your garage into a well-organized and inspiring space in four steps:
Clean and Declutter
If your garage is overflowing with stacks of boxes, then this would be the most daunting step–going through everything. Yes, even the scary stuff, like tiki torches, bent rakes, and lawn chairs in the corner.
But don’t be overwhelmed. Start by getting a temporary storage space–such as two large plastic bins–and empty the garage from one side. Here, you want to sort the thing into two categories: Keep and Throw. Label your bins the two and get sorting.
Categorize your “Keep items” into different groups: tools, lawn care, sports tools, recreation, cleaning supplies, rare usage items, etc. For the “Throw” section, sell the unwanted items in a backyard sale or online via eBay or Craig’s List, or you can simply donate them to local charities.
Remember: the goal is to empty as much of the garage as possible.
Plan the Garage Space
Now that the garage is clean, let’s organize it. What type of DIY projects do you want to do? Yes, it’ll still be a storage area, but by cleverly optimizing the organization, you’ll make enough space for your projects.

If you have a large enough garage, why not create different work zones for various activities, such as woodworking, crafting, and automotive? It can mean positioning your woodworking station near the entrance so that you can easily transport large pieces of wood.
Therefore, visualize the storage spaces and multi-use areas, like a sturdy workbench, and create a detailed garage layout. Also, leave plenty of space to park your car.
Optimize Garage Storage
With the vision and layout set, it’s time to space-optimize the garage. At this stage, you have to invest in actually organizing the area. You can purchase the required material and DIY the storage space or hire a professional. Either way, the two most popular options include:
Vertical Storage
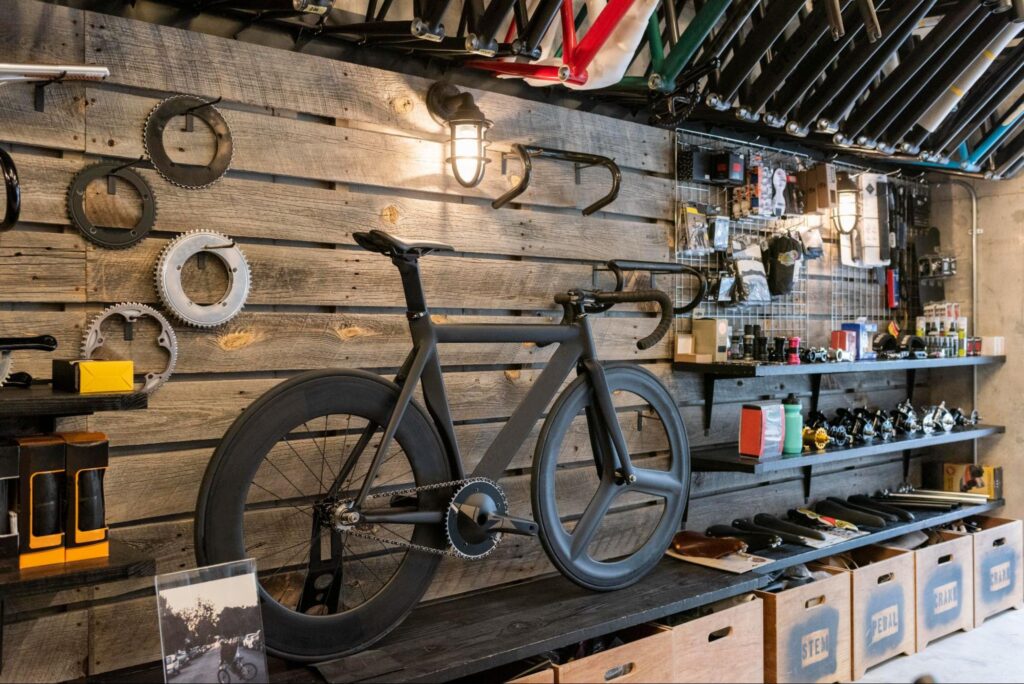
Use the walls of your garage to free up as much ground space as possible. Go from floor-to-cleaning storage options with shelving that mounts to the walls. Install peg boards to hang tools, golf bags, and everything else you can hang up.
You can even lift recycling and garbage bins off the ground. Space your shelves far apart so that you can add more shelves as needed. Tuck away the unused bins into shelves and roll them out while using them.
The idea is to go upwards instead of outwards.
Ceiling Storage
Don’t let your ceiling just hang there–unused. Use a variety of ceiling mounts. It can include
- hanging shelves for Christmas decoration
- Roof racks for bicycles and kayaks
- Wooden planks as tracks
Plus, you can attach a lift with most ceiling storage solutions to easily raise and lower them.
Personalize the Space
Investing in upscaling your garage can be a big project and often a rare one. Therefore, ensure your optimized garage is as durable as functional and aesthetically pleasing.

Install interior steel siding on the walls to protect the garage from wear and tear. This will also add an industrial look to your garage’s interior, making it the perfect spot for all your DIY projects.
Also, customize the garage with your DIY-project-themed decor, such as posters of classic and racing cars. Use colorful storage bins, inspirational quotes, and bulletin boards for ideas.
Add stools and padded chairs to create comfortable working areas for prolonged projects. Place anti-fatigue mats to reduce stains. Illuminate the garage with proper lighting: adjustable lamps at the workstation and LED light under the shelves.
Your Dream Garage
That’s a wrap of the beginner’s guide to transforming your garage into a fun and productive workstation. Now, put all that you’ve learned into practice and make your garage a haven for your DIY projects.


