Installing transparent roofing is crucial in creating a well-lit, open, and visually appealing space. Whether you want to enhance natural light in a commercial building, create a stunning outdoor patio, or add a modern touch to your home, transparent roofing offers a versatile and stylish solution. This guide will explore the various transparent roofing options, the benefits of using this material, and the step-by-step installation process. Following this comprehensive guide will give you the knowledge and tools to complete your transparent roofing project confidently and precisely.
Choosing the Right Support Structures for Transparent Roofing
When choosing the right support structures for transparent roofing, it is essential to consider the type of glazing bars compatible with your glass or polycarbonate sheets. This decision plays a critical role in the overall stability and durability of the roofing system. For glass panels, it is crucial to select glazing bars specifically designed to accommodate the weight and size of the glass. Additionally, choosing the right glazing bars for polycarbonate sheets is equally important, as these lightweight materials require a secure and reliable support structure to prevent sagging or bending.
By selecting the appropriate glazing bars for your transparent roofing project, you can ensure your installation is visually appealing and structurally sound. Whether you opt for aluminium, PVC, or steel glazing bars, working with a reputable supplier who can provide expert guidance on the best options for your project requirements is essential. Investing in high-quality support structures will enhance the aesthetics of your transparent roofing and increase its longevity and performance over time.
Preparing the Roof for Installation
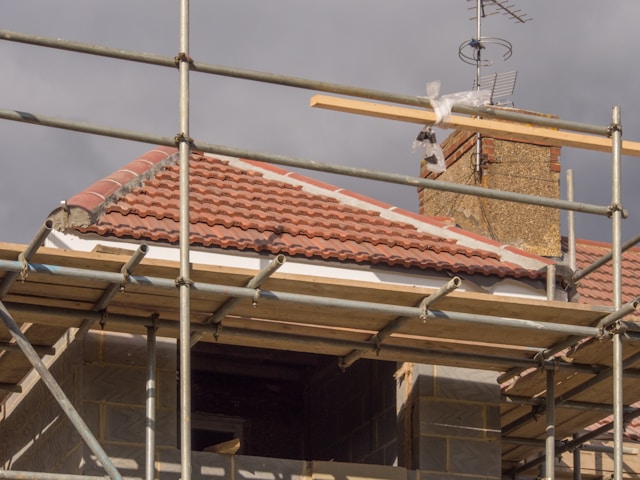
Before starting the installation process for transparent roofing, several key preparations must be made to ensure a successful outcome. The first step is to thoroughly clean and inspect the roof surface where the transparent roofing will be installed. Removing debris, dirt, and old roofing materials is important to ensure a smooth and even surface for installation. Any leaks or damage should be repaired before moving forward with the installation.
After cleaning and inspecting the roof surface, the next step is to carefully measure and plan for the installation of the transparent roofing material. Accurate measurements are essential to ensure that the roofing material fits properly and that there are no gaps or overlaps during installation. It is also important to consider proper drainage and ventilation to prevent water damage or condensation issues. Preparing the roof surface and planning for the installation can help ensure a seamless and long-lasting result for your transparent roofing project.

Proper preparation is essential before starting the installation process for transparent roofing. By cleaning and inspecting the roof surface, measuring and planning for the installation, and addressing any repairs or issues beforehand, you can create a solid foundation for a successful and visually appealing transparent roofing project. With the right preparation and attention to detail, you can enjoy the benefits of natural light, modern design, and durability that transparent roofing offers for years.
Sealing and Waterproofing Techniques
When it comes to ensuring a watertight seal between the sheets of transparent roofing and the roofing structure, several best practices can be followed to prevent leaks and water damage. One important technique is ensuring all seams and edges are properly sealed with a high-quality waterproof sealant. This will help to prevent water from seeping through gaps and causing damage to the underlying structure. Additionally, using the correct flashing materials and techniques is essential to ensure that water is properly directed away from the edges of the roofing sheets.
Another important aspect of sealing and waterproofing transparent roofing is regularly inspecting and maintaining the sealant and flashing to ensure they remain intact and effective. Over time, sealants can degrade due to exposure to the elements, so it is important to periodically check for any signs of wear or damage and reapply the sealant as needed. By following these best practices for sealing and waterproofing transparent roofing, you can help ensure your space remains well-lit, open, and visually appealing while protecting it from potential water damage.
Maintenance Tips for Long-Term Durability
Proper maintenance is key to ensuring the long-term durability of your new transparent roofing. Regular cleaning is important to prevent dirt, debris, and stains from building up on the surface and affecting its transparency. Use a mild soap and water solution to clean the roofing and avoid harsh chemicals or abrasive materials that could cause damage. It is also recommended that the roofing be regularly inspected for any cracks, leaks, or damages and that any issues be addressed promptly to prevent further deterioration.

In addition to regular cleaning and inspections, protecting your transparent roofing from harsh weather conditions and UV exposure is important. Apply a UV protectant coating to help prevent yellowing and discolouration caused by sun exposure. Consider installing shade structures or blinds to reduce direct sunlight and minimise the risk of heat damage. If you live in an area prone to strong winds or hail, consider investing in impact-resistant roofing materials to protect against potential damage. By following these maintenance tips and taking proactive measures to care for your transparent roofing, you can extend its lifespan and enjoy its benefits for years.


